How to Integrate Google One Tap Login with Django All Auth
What is Google One Tap Login?
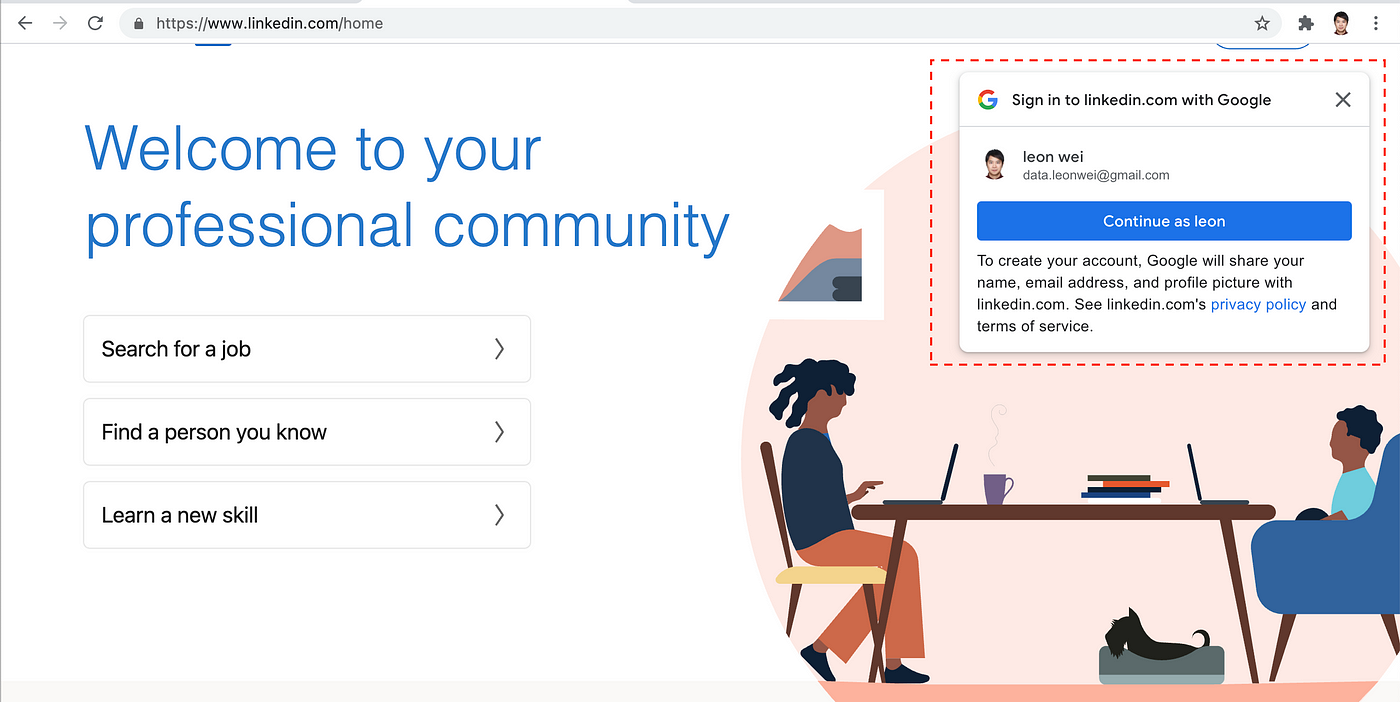
When you navigate the web using your Chrome browser, you frequently encounter a pop-up prompting you to log in via Google.
This is particularly noticeable when accessing sites like LinkedIn.com on Chrome, where you may find that you're already logged in with your Google account from previous sessions.
Leveraging Google's One Tap sign-in or sign-up on your website offers a streamlined user experience, especially for Chrome users. This guide will walk you through integrating Google One Tap with Django, utilizing the Django Allauth library for authentication.
In my previous blog, I showed you how to integrate Django all auth with google sign-in, and let’s use the same codebase we developed to get started, which can be found on GitHub.
Google automatic sign in
(Official guide: https://developers.google.com/identity/gsi/web/guides/display-google-one-tap for more details)
1. Let’s first test the Django development server:
[projects]$ cd google_auth/
[google_auth]$ source venv/bin/activate
(venv) [google_auth]$ python manage.py runserver
Watching for file changes with StatReloader
INFO 2021-03-24 20:32:45,848 autoreload 36314 4747152896 Watching for file changes with StatReloader
Performing system checks...System check identified no issues (0 silenced).
March 24, 2021 - 20:32:45
Django version 3.1.7, using settings 'config.settings.local'
Starting development server at http://127.0.0.1:8000/
Quit the server with CONTROL-C.
If you see something wrong, make sure you follow my previous blog or clone my code repository on Github before moving on to the next step.
1.1 If you have not already, make sure in your config file, you have included the following (config/settings/base.py)
# Disable conformation step
SOCIALACCOUNT_LOGIN_ON_GET=True

SOCIALACCOUNT_PROVIDERS = {

    'google': {
        'SCOPE': [
            'profile',
            'email',
        ],
        'AUTH_PARAMS': {
            'access_type': 'online',
        },
        'OAUTH_PKCE_ENABLED': True,
        'FETCH_USERINFO': True

    }
}

# All auth app
INSTALLED_APPS = [
    #Other apps
    "allauth",
    "allauth.account",
    "allauth.socialaccount",
    'allauth.socialaccount.providers.google',

]
2. Load the Javascript library for Google one-tap sign in
(Official guide: https://developers.google.com/identity/gsi/web/guides/client-library)
Add the following to the base.html file (located under google_auth/google_auth/templates)
<!-- Your stuff: Third-party javascript libraries go here, Line 42-->
<script src="https://accounts.google.com/gsi/client" async defer></script> <!-- NEW -->
3. Display Google One Tap prompt
Add the following code below the content block:
<div id="g_id_onload"
     data-client_id="YOUR_GOOGLE_CLIENT_ID"
     data-login_uri="https://your.domain/your_login_endpoint"
     data-your_own_param_1_to_login="any_value"
     data-your_own_param_2_to_login="any_value">
</div>
replace YOUR_GOOGLE_CLIENT_ID with your own. If you don’t have it, you can apply for one here. It looks like “1234567890-abc123def456.apps.googleusercontent.com”
We also will need to update data-login_uri, which you can simply replace it with
data-login_uri="{% url 'google_login_by_token' %}" This is what the final code may look like
<script src="//accounts.google.com/gsi/client" async></script>
<div id="g_id_onload"
     data-client_id="1234567-blahblahblah.apps.googleusercontent.com"
     data-login_uri="{% url 'google_login_by_token' %}"
</div>
Edit the google_auth/google_auth/templates/base.html and replace the google one tap prompt.
The if statement makes sure that only the users who have not logged in yet is shown the prompt.
{% if not request.user.is_authenticated %}
  <div
    id="g_id_onload"
       data-client_id="123457890-abceefghijklm.apps.googleusercontent.com"
       data-login_uri="{% url 'google_login_by_token' %}">
  </div>
{% endif %}
One more thing
You will also need to add a referrer policy settings in your settings file.
“This can also happen if your server has Referrer-Policy set to no-referrer. Google requires this HTTP header or else requests to https://accounts.google.com/gsi/button and https://accounts.google.com/gsi/iframe/select will respond with 400 and produce that error”
SECURE_REFERRER_POLICY= "strict-origin-when-cross-origin"
Actually one more thing
Right now if you start your server, you should see a google login, but after you click on the sign in button, you will be directed to a confirmation page with the following message.

To skip this step, add the following django all-auth settings to your setting file.
SOCIALACCOUNT_LOGIN_ON_GET=TrueIf you restart the server, you will see a google login prompt (assuming you have logged into Google). Click on it will sign you in with Google.
See it in action
The same login workflow has been implemented to both sqlpad.io as well as this website. Feel free to visit sqlpad.io and see how it works for yourself.


 Leon
Leon